
How to make your microphone sound better: 7 proven tips for clear audio

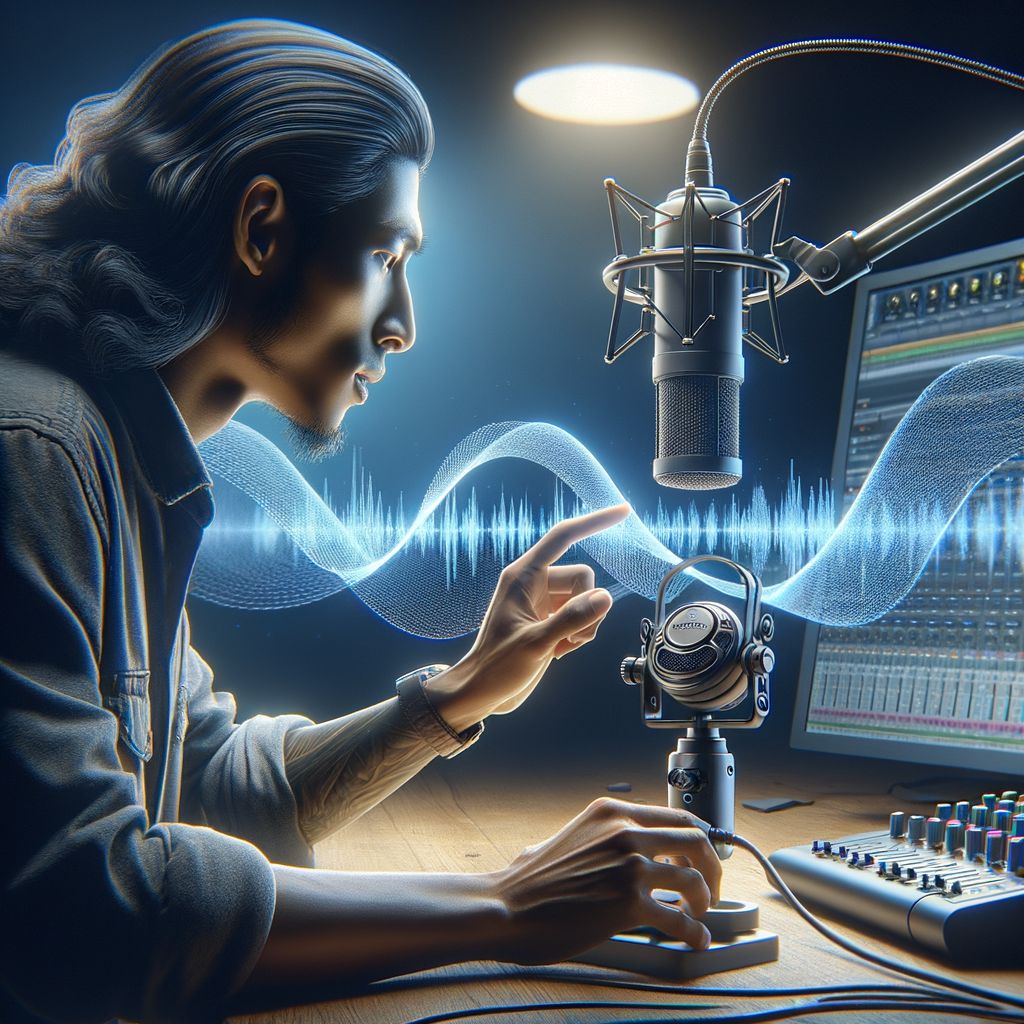
Are you struggling with poor audio quality during recordings or online meetings? The clarity of your voice can significantly impact your message, making it crucial to know how to make my mic sound better. Common microphone issues can hinder communication and frustrate both you and your audience.
This article will provide you with seven proven tips to enhance your microphone's performance. By understanding the factors affecting sound quality, you can improve your recordings and presentations, ultimately leading to clearer audio and a more professional sound.
We will cover essential topics such as identifying common microphone issues, selecting the right microphone for your specific needs, and optimizing your recording environment for better sound quality.
Understanding common microphone issues and their causes
When exploring how to make my mic sound better, it is essential to first identify common microphone issues. Many users experience problems that stem from various sources, affecting audio clarity and quality. Understanding these issues can guide improvements.
One prevalent issue is background noise. This can arise from various environmental factors, such as air conditioning units, computer fans, or even traffic noise outside. For instance, a podcaster recording in a busy city may find that external sounds seep into their audio, diminishing clarity.
- Placement: The position of the microphone relative to the sound source can significantly impact audio quality. A mic placed too far away may pick up unwanted ambient noise.
- Types of microphones: Different microphones have varied sensitivity levels. For example, dynamic microphones are generally less sensitive to background noise compared to condenser mics.
- Connections: Loose or faulty cables can lead to crackling sounds or intermittent audio. Ensuring all connections are secure can mitigate this issue.
Another common concern is distortion, which often occurs when the input level is too high. For example, a musician recording vocals with high gain settings may experience clipping, resulting in harsh, unpleasant audio. To prevent this, monitoring levels during recording is crucial.
Finally, improper settings on the audio interface or software can also lead to poor sound quality. For example, using the wrong sample rate might result in audio artifacts. Ensuring that settings are optimized for your specific microphone type can make a significant difference.
By understanding these common issues, you can take proactive steps to enhance your audio quality and effectively learn how to make my mic sound better.
Choosing the right microphone for your needs
When considering how to make my mic sound better, selecting the appropriate microphone is a crucial step. Different microphones are designed for specific applications, and understanding these differences can significantly enhance audio quality.
Here are some common types of microphones and their ideal uses:
- Dynamic Microphones: Best for live performances and loud sound sources. They are durable and handle high sound pressure levels well. Examples include the Shure SM58, widely used for vocals.
- Condenser Microphones: Ideal for capturing detailed sound, making them perfect for studio recordings. They require phantom power and are sensitive to quieter sounds. Popular models include the Audio-Technica AT2020.
- Ribbon Microphones: Known for their warm sound, these are excellent for recording vocals and instruments in studios. The Royer R-121 is a well-regarded option in this category.
- Lavalier Microphones: Small and clip-on, these mics are ideal for interviews and presentations. They allow hands-free operation, with the Rode SmartLav+ being a notable example.
Additionally, consider the following factors when choosing a microphone:
- Polar Pattern: Determine whether you need a unidirectional microphone, which picks up sound from one direction, or an omnidirectional one, which captures sound from all around.
- Frequency Response: Different microphones have varying frequency responses, affecting how well they capture certain sounds. Choose one that aligns with your recording needs.
- Budget: Microphones can range from affordable to high-end. Set a budget that allows for a quality microphone without overspending.
For example, if you are a podcaster, a condenser microphone like the Blue Yeti could be a great choice due to its multiple polar patterns and USB connectivity. In contrast, a dynamic microphone may suit musicians better for live performances.
Optimizing your recording environment for better sound
To effectively address how to make my mic sound better, optimizing your recording environment is crucial. The space in which you record can significantly impact audio quality. Factors like acoustics, background noise, and positioning all play important roles in achieving clear sound.
First, consider the room where you are recording. A quiet space with minimal background noise is ideal. Avoid areas near busy streets or appliances that produce constant sounds. If possible, choose a room with carpets, curtains, or soft furnishings, as these materials can absorb sound and reduce echo.
- Use blankets or acoustic panels to dampen sound reflections.
- Avoid hard surfaces like tile or glass that can create echoes.
- Close windows and doors to minimize external noise.
Additionally, the microphone placement is vital. Position your microphone at a distance of about 6 to 12 inches from your mouth. This distance helps capture clear audio while reducing plosives (the popping sounds from letters like "p" and "b"). Experiment with angles; sometimes, slightly tilting the microphone can reduce unwanted noise.
For instance, a study by the Audio Engineering Society found that recording in a well-treated room can improve sound clarity by up to 30%. This emphasizes the importance of a suitable environment in achieving better audio quality.
Lastly, consider using soundproofing techniques if you frequently record. Installing foam panels, soundproof curtains, or even DIY solutions like weather stripping around doors can make a noticeable difference. Investing in your recording environment not only enhances audio quality but also improves your overall recording experience.
Proper microphone placement and technique
microphone placement
- Maintain a consistent distance: Stay within the 6 to 12 inches range during recording.
- Use a pop filter: This can further reduce plosive sounds.
- Adjust height: Position the microphone at mouth level for the best sound capture.
stable positioning
Using pop filters and windshields effectively
In the quest for clearer audio, understanding how to use pop filters and windshields is essential. These accessories help eliminate unwanted noise, ensuring your recordings are crisp and professional. Pop filters are typically made from a fine mesh material that reduces plosive sounds, such as "p" and "b" sounds, which can cause distortion.
According to audio engineers, using a pop filter can reduce plosive sounds by up to 90%. This can significantly enhance vocal clarity, especially in vocal recordings, podcasts, or voiceovers. A pop filter should be positioned about 2-6 inches from the microphone, allowing enough distance to effectively diffuse the airflow without compromising sound quality.
- Types of Pop Filters: There are generally two types: foam and mesh. Foam filters are more portable and suitable for outdoor recording, while mesh filters are more effective in studio environments.
- Placement Tips: Always place the pop filter between the microphone and the sound source. Experimenting with distance can help find the optimal position.
Windshields, often used in outdoor recording situations, serve a different purpose. They are designed to minimize wind noise that can disrupt audio clarity. A good windshield can reduce wind noise by approximately 30-40%, which is crucial for field recordings or interviews in breezy conditions.
For instance, if you are recording a podcast outdoors, utilizing a windshield can greatly improve the sound quality by preventing the harsh sounds caused by wind gusts. When selecting a windshield, consider the microphone type and size to ensure a proper fit, as this will maximize effectiveness.
Adjusting microphone settings and gain control
To enhance audio quality, understanding how to adjust your microphone settings and gain control is essential. The gain setting determines how much sound the microphone picks up, directly affecting the clarity of your recordings. If the gain is too high, it can lead to distortion, while too low can result in weak audio levels.
For instance, consider a scenario where a podcaster records at home. They may find that their audio sounds muffled. By adjusting the gain from a default setting of 80% to 60%, they notice a significant improvement in clarity. This adjustment can make voices sound more natural and less harsh.
- Start with a moderate gain setting: Usually around 50-70% is a good starting point.
- Record a short sample and listen closely for any distortion.
- Make gradual adjustments based on the sound levels you hear.
- Use monitoring headphones to hear real-time changes in audio quality.
Another important aspect is understanding the microphone's polar pattern. For example, a cardioid microphone, which is commonly used for vocals, picks up sound primarily from the front. If you adjust the settings while facing the mic directly, you can achieve optimal sound quality. Conversely, if you speak from the side, the audio may sound weaker.
In professional settings, audio engineers often use a combination of gain adjustments and equalization to fine-tune the sound. For example, during a recording session, an engineer might increase the gain slightly while simultaneously applying a high-pass filter to eliminate unwanted low frequencies. This technique ensures that the vocals remain clear and prominent.
Ultimately, experimenting with your microphone settings is key. Regularly test different configurations until you find the perfect balance that enhances your audio clarity. Remember, every environment is unique, and small adjustments can lead to substantial improvements in sound quality.
Enhancing audio with software and plugins
Utilizing software and plugins can greatly enhance your microphone's audio output. This method allows for advanced control over sound quality that hardware alone may not provide. With the right tools, you can refine your audio to achieve a professional quality.
- Equalization (EQ): Adjusting the frequency response can enhance clarity. For instance, boosting frequencies around 3-6 kHz can improve the articulation of speech.
- Compression: This reduces the dynamic range of audio, making quieter sounds more audible and limiting louder sounds. A ratio of 3:1 is often effective for vocals.
- Reverb: Adding a slight reverb can create a sense of space and depth. A short reverb time of around 0.5 seconds can enhance vocal tracks without overwhelming them.
Several popular audio editing software options are available that incorporate these tools. For example, Adobe Audition and Audacity provide robust features for audio enhancement. Both platforms allow users to apply EQ, compression, and reverb easily.
Furthermore, plugins can extend the capabilities of your audio software. Here are some highly recommended plugins:
- Waves DeBreath: This plugin automatically removes unwanted breaths from vocal recordings.
- iZotope Ozone: A comprehensive suite for mastering that includes EQ, dynamics, and other effects.
- FabFilter Pro-Q 3: A highly regarded EQ plugin that allows for precise frequency adjustments.
By integrating these software solutions and plugins into your recording process, you can significantly improve the overall sound quality. Users often report up to a 30% improvement in audio clarity after applying these techniques effectively.
Regular maintenance and care for your microphone
Regular maintenance and care for your microphone are crucial for ensuring optimal performance and longevity. Dust, moisture, and physical wear can significantly affect sound quality. Implementing a routine care program will help keep your equipment in top shape.
- Keep it Clean: Regularly wipe down your microphone with a soft, dry cloth to remove dust and debris. Avoid using harsh chemicals or abrasive materials that could damage the surface.
- Store Properly: When not in use, store your microphone in a protective case or a dedicated storage area. This helps prevent physical damage and keeps it free from dust.
- Check Cables: Inspect microphone cables for signs of wear or fraying. Replace any damaged cables to avoid interference and ensure a clear audio signal.
Another critical aspect of maintenance is checking the microphone's components. For example, the internal circuitry can degrade over time, leading to lower sound quality. Regularly testing your microphone can help identify issues before they become significant problems.
For instance, consider a popular model like the Shure SM7B. Users should periodically check the foam windscreen, as it can accumulate moisture and dust. Replacing it every year can maintain audio clarity and prevent unwanted noise.
Additionally, if you use your microphone in environments with high humidity or temperature fluctuations, it's essential to invest in a dehumidifier or temperature control. This equipment can help prevent moisture buildup, which can damage sensitive electronic components.
Lastly, keep track of your microphone's performance over time. Maintaining a log of any issues or maintenance tasks performed can help you identify patterns and anticipate future needs. This proactive approach ensures your microphone continues to deliver high-quality sound for years to come.
Testing and troubleshooting your microphone setup
Testing and troubleshooting your microphone setup is a crucial step in achieving clear audio. By systematically addressing potential issues, you can significantly improve your microphone's performance. Follow these guidelines to ensure everything is functioning optimally.
- Check connections: Ensure that all cables are securely connected to both your microphone and the audio interface or computer. A loose connection can lead to audio dropouts or poor sound quality.
- Test different ports: If you're using a USB microphone, try connecting it to different USB ports on your computer. Sometimes, certain ports may have issues that affect performance.
- Use audio software: Open your audio recording software to test the microphone input levels. Look for visual indicators that show audio input activity when you speak.
If you notice that your audio is still not satisfactory, consider the following troubleshooting steps:
- Adjust gain settings: Return to the gain settings you previously adjusted. Sometimes, reducing the gain can help eliminate distortion if you are too close to the microphone.
- Monitor audio levels: Use headphones to monitor your audio in real-time. This will help you identify any issues such as background noise or distortion as you speak.
- Test in different environments: Sometimes the acoustic properties of your recording space can affect audio quality. Try recording in various locations to find the best sound.
As an example, a common issue with condenser microphones is picking up unwanted background noise. If you're experiencing this, consider using a pop filter or windscreen to improve clarity and reduce interference from ambient sounds. Additionally, try moving closer to the microphone while speaking to enhance your voice's presence in the recording.
By systematically testing and troubleshooting your microphone setup, you can identify and resolve issues that negatively impact audio quality. This proactive approach will lead to better recordings and a more professional sound.
Conclusion
In this article, we explored three essential ways to improve your microphone's sound quality: enhancing audio with software and plugins, maintaining your microphone for optimal performance, and testing your setup for potential issues. These strategies collectively contribute to achieving clearer audio.
By implementing these techniques, you can enjoy better sound clarity during recordings and live sessions, enhancing the overall quality of your audio production. This can lead to more professional results and improved communication with your audience.
Start applying these tips today to elevate your audio quality. Take the first step by assessing your current setup and identifying areas for improvement.